Guide How to Check and Top Up Your Oil
Here’s a step-by-step guide on how to check and top up your oil. Maintaining the right oil level in your car is essential for its smooth operation and longevity. Regularly checking and topping up your oil is a simple yet crucial task that can prevent engine damage and improve performance.
Why Checking Your Oil is Important
Oil acts as the lifeblood of your engine, lubricating moving parts, reducing friction, and helping to dissipate heat. Over time, oil levels can drop due to engine use, leading to inadequate lubrication and potential engine damage. Regular oil checks ensure your engine runs smoothly and efficiently.
When Should You Check Your Oil?
Ideally, you should check your oil at least once a month and before long trips. Newer cars may have electronic oil level monitors, but it’s still a good idea to manually check the oil to ensure accuracy. If your car has a history of oil leaks or if the oil warning light comes on, check it more frequently.
What You’ll Need
- Clean cloth or paper towel
- Funnel (if needed)
- Appropriate engine oil for your vehicle (check your owner’s manual)
Step-by-Step Guide to Checking Your Oil:
- Park Your Car on a Level Surface:
- Ensure your car is parked on a flat surface and that the engine is off. It’s best to check the oil when the engine is cool, as hot oil can give a false reading.
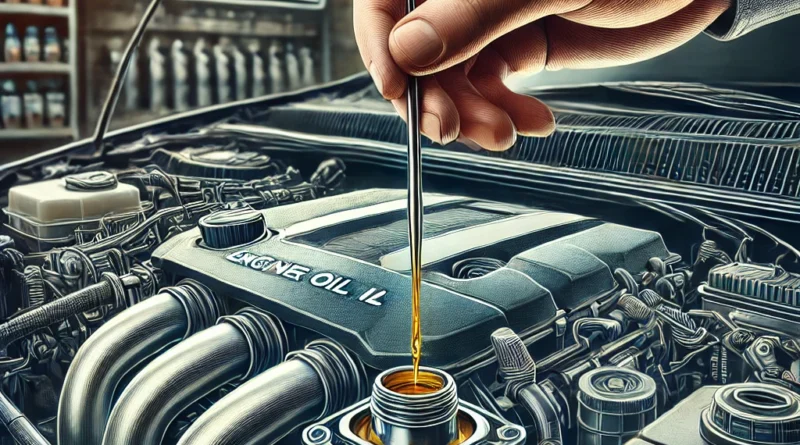
2. Locate the Dipstick
- Open the hood of your car and locate the dipstick. The dipstick is usually marked with a bright handle and labeled with an oil can symbol.
3. Remove and Clean the Dipstick:
- Pull the dipstick out of the engine and wipe it clean with a cloth or paper towel. This removes any oil that might give you an inaccurate reading.
4. Reinsert the Dipstick:
- Fully insert the clean dipstick back into the tube, making sure it’s seated properly. Then, pull it out again to check the oil level.
5. Check the Oil Level:
- Look at the markings on the dipstick. There are usually two marks: “MIN” and “MAX.” The oil level should be between these two marks. If it’s below the “MIN” mark, your oil level is too low and needs topping up.
How to Top Up Your Oil:
- Choose the Right Oil:
- Refer to your owner’s manual to determine the correct type of oil for your engine. Using the wrong oil can harm your engine.
2. Locate the Oil Filler Cap:
- Find the oil filler cap on the top of your engine. It’s usually marked with the same oil can symbol as the dipstick.
3. Add Oil:
- Unscrew the oil filler cap and, using a funnel, pour in the oil slowly. It’s better to add a small amount at a time, checking the dipstick after each addition, than to overfill the engine.
4. Recheck the Oil Level:
- After adding oil, wait a few minutes, then check the oil level again using the dipstick. Ensure it’s between the “MIN” and “MAX” marks.
5. Replace the Oil Cap:
- Once the oil level is correct, replace the oil filler cap securely. Make sure the dipstick is also properly seated.
Tips for Maintaining Oil Levels
- Regular Oil Changes: Even if you’re topping up your oil regularly, don’t forget to follow the manufacturer’s recommended oil change intervals.
- Watch for Leaks: If you notice a rapid drop in oil level, check for leaks under your car. Oil leaks can lead to significant engine problems if left unattended.
- Use High-Quality Oil: Invest in high-quality oil that meets your vehicle’s specifications. It can make a significant difference in engine performance and longevity.
Checking and topping up your oil is a simple yet vital task in car maintenance. By ensuring your oil level is always within the recommended range, you protect your engine from wear and tear, improve fuel efficiency, and extend your vehicle’s lifespan. Regular attention to your car’s oil needs can save you from costly repairs and keep your vehicle running smoothly.
Buying a used VW. Buying used vauxhall, BMW, Jaguar, Ford, Volvo, Range rover, Bentley, Aston Martin, Porsche, Ferrari, Lamborghini, Maserati, Hyundai, Tesla, Honda, Pagani