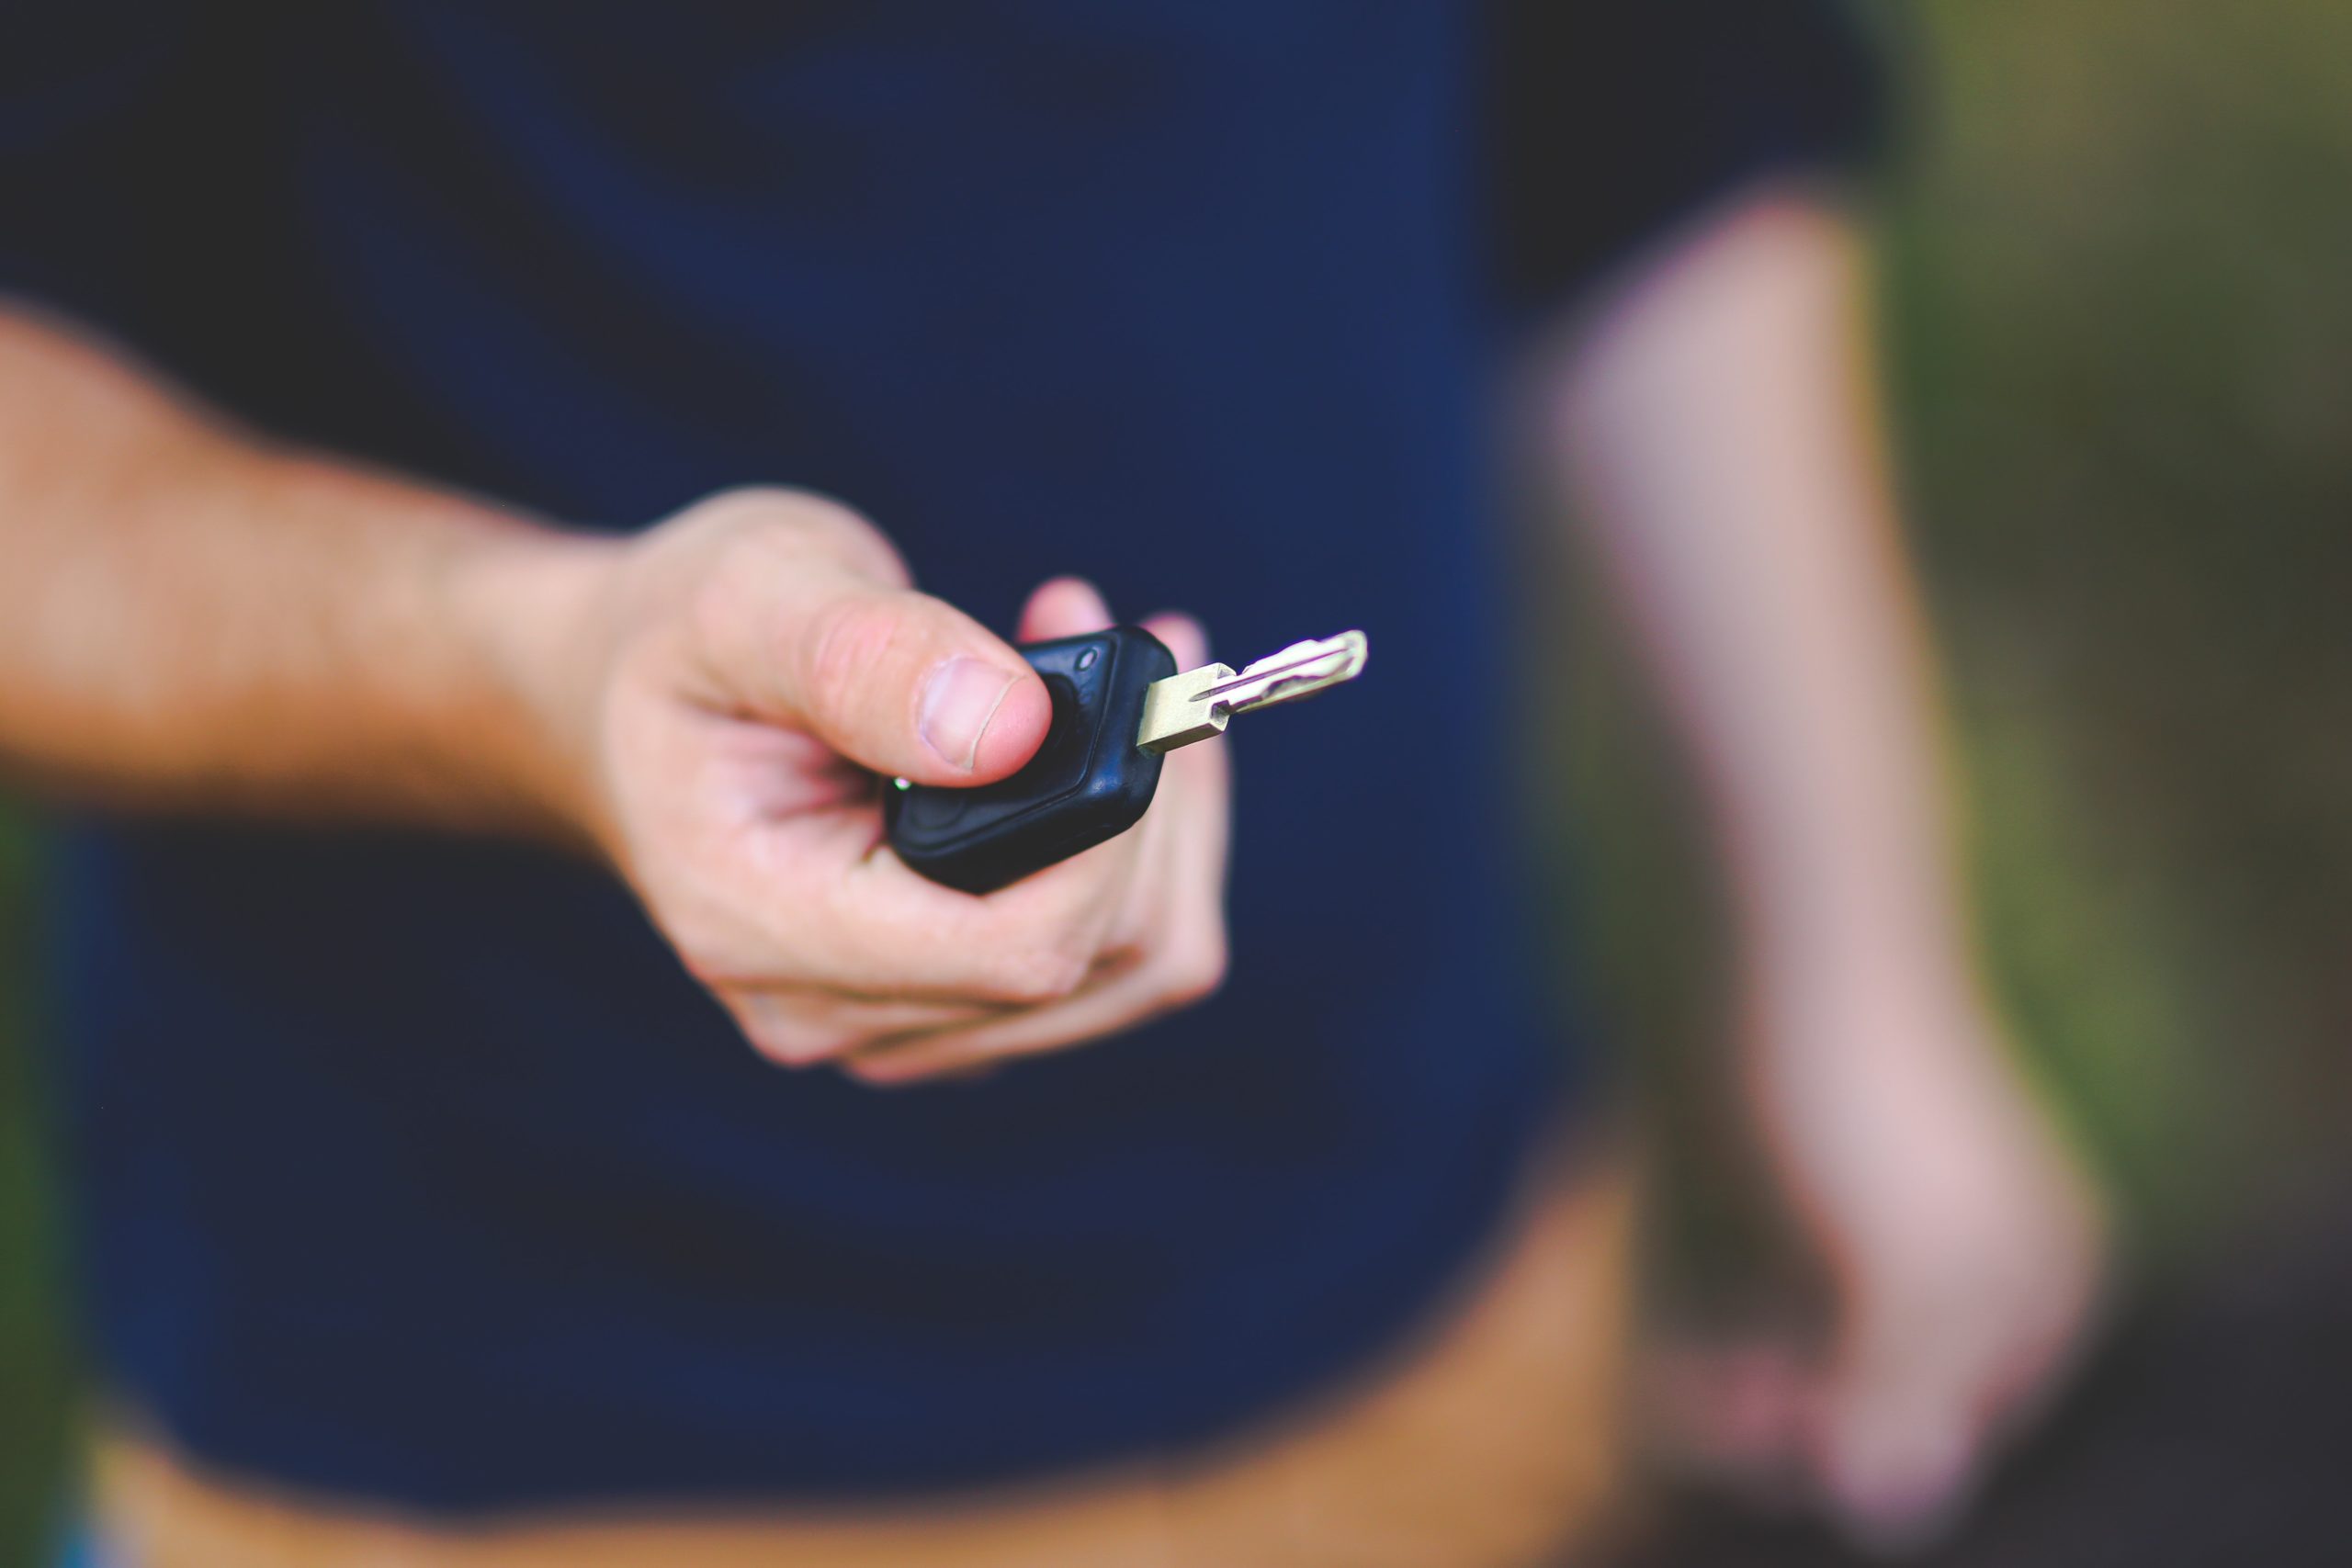
Why is it important to check a used Honda before buying
Estimated reading time: 5 minutes
Honda vehicles are widely respected for their reliability, fuel efficiency, and strong long-term performance. Purchasing a used Honda can be a smart and rewarding decision, but to buy with confidence, a thorough inspection check is essential. Whether you are buying your first car or upgrading to a newer model, an inspection helps you understand the true condition of the vehicle and reduces the risk of unexpected repair costs. This guide outlines the key areas that should be checked when inspecting a used Honda before purchase.
Why a Used Honda Pre-Purchase Inspection Matters
Despite Honda’s reputation for dependability, no used vehicle is completely risk-free. Factors such as age, mileage, driving habits, and maintenance history all influence a car’s condition. A inspection check helps to identify hidden mechanical or electrical issues, assess wear from previous ownership, understand future maintenance requirements, avoid purchasing a poorly maintained vehicle, and support negotiation of a fair purchase price. A proper inspection removes uncertainty before any money changes hands.
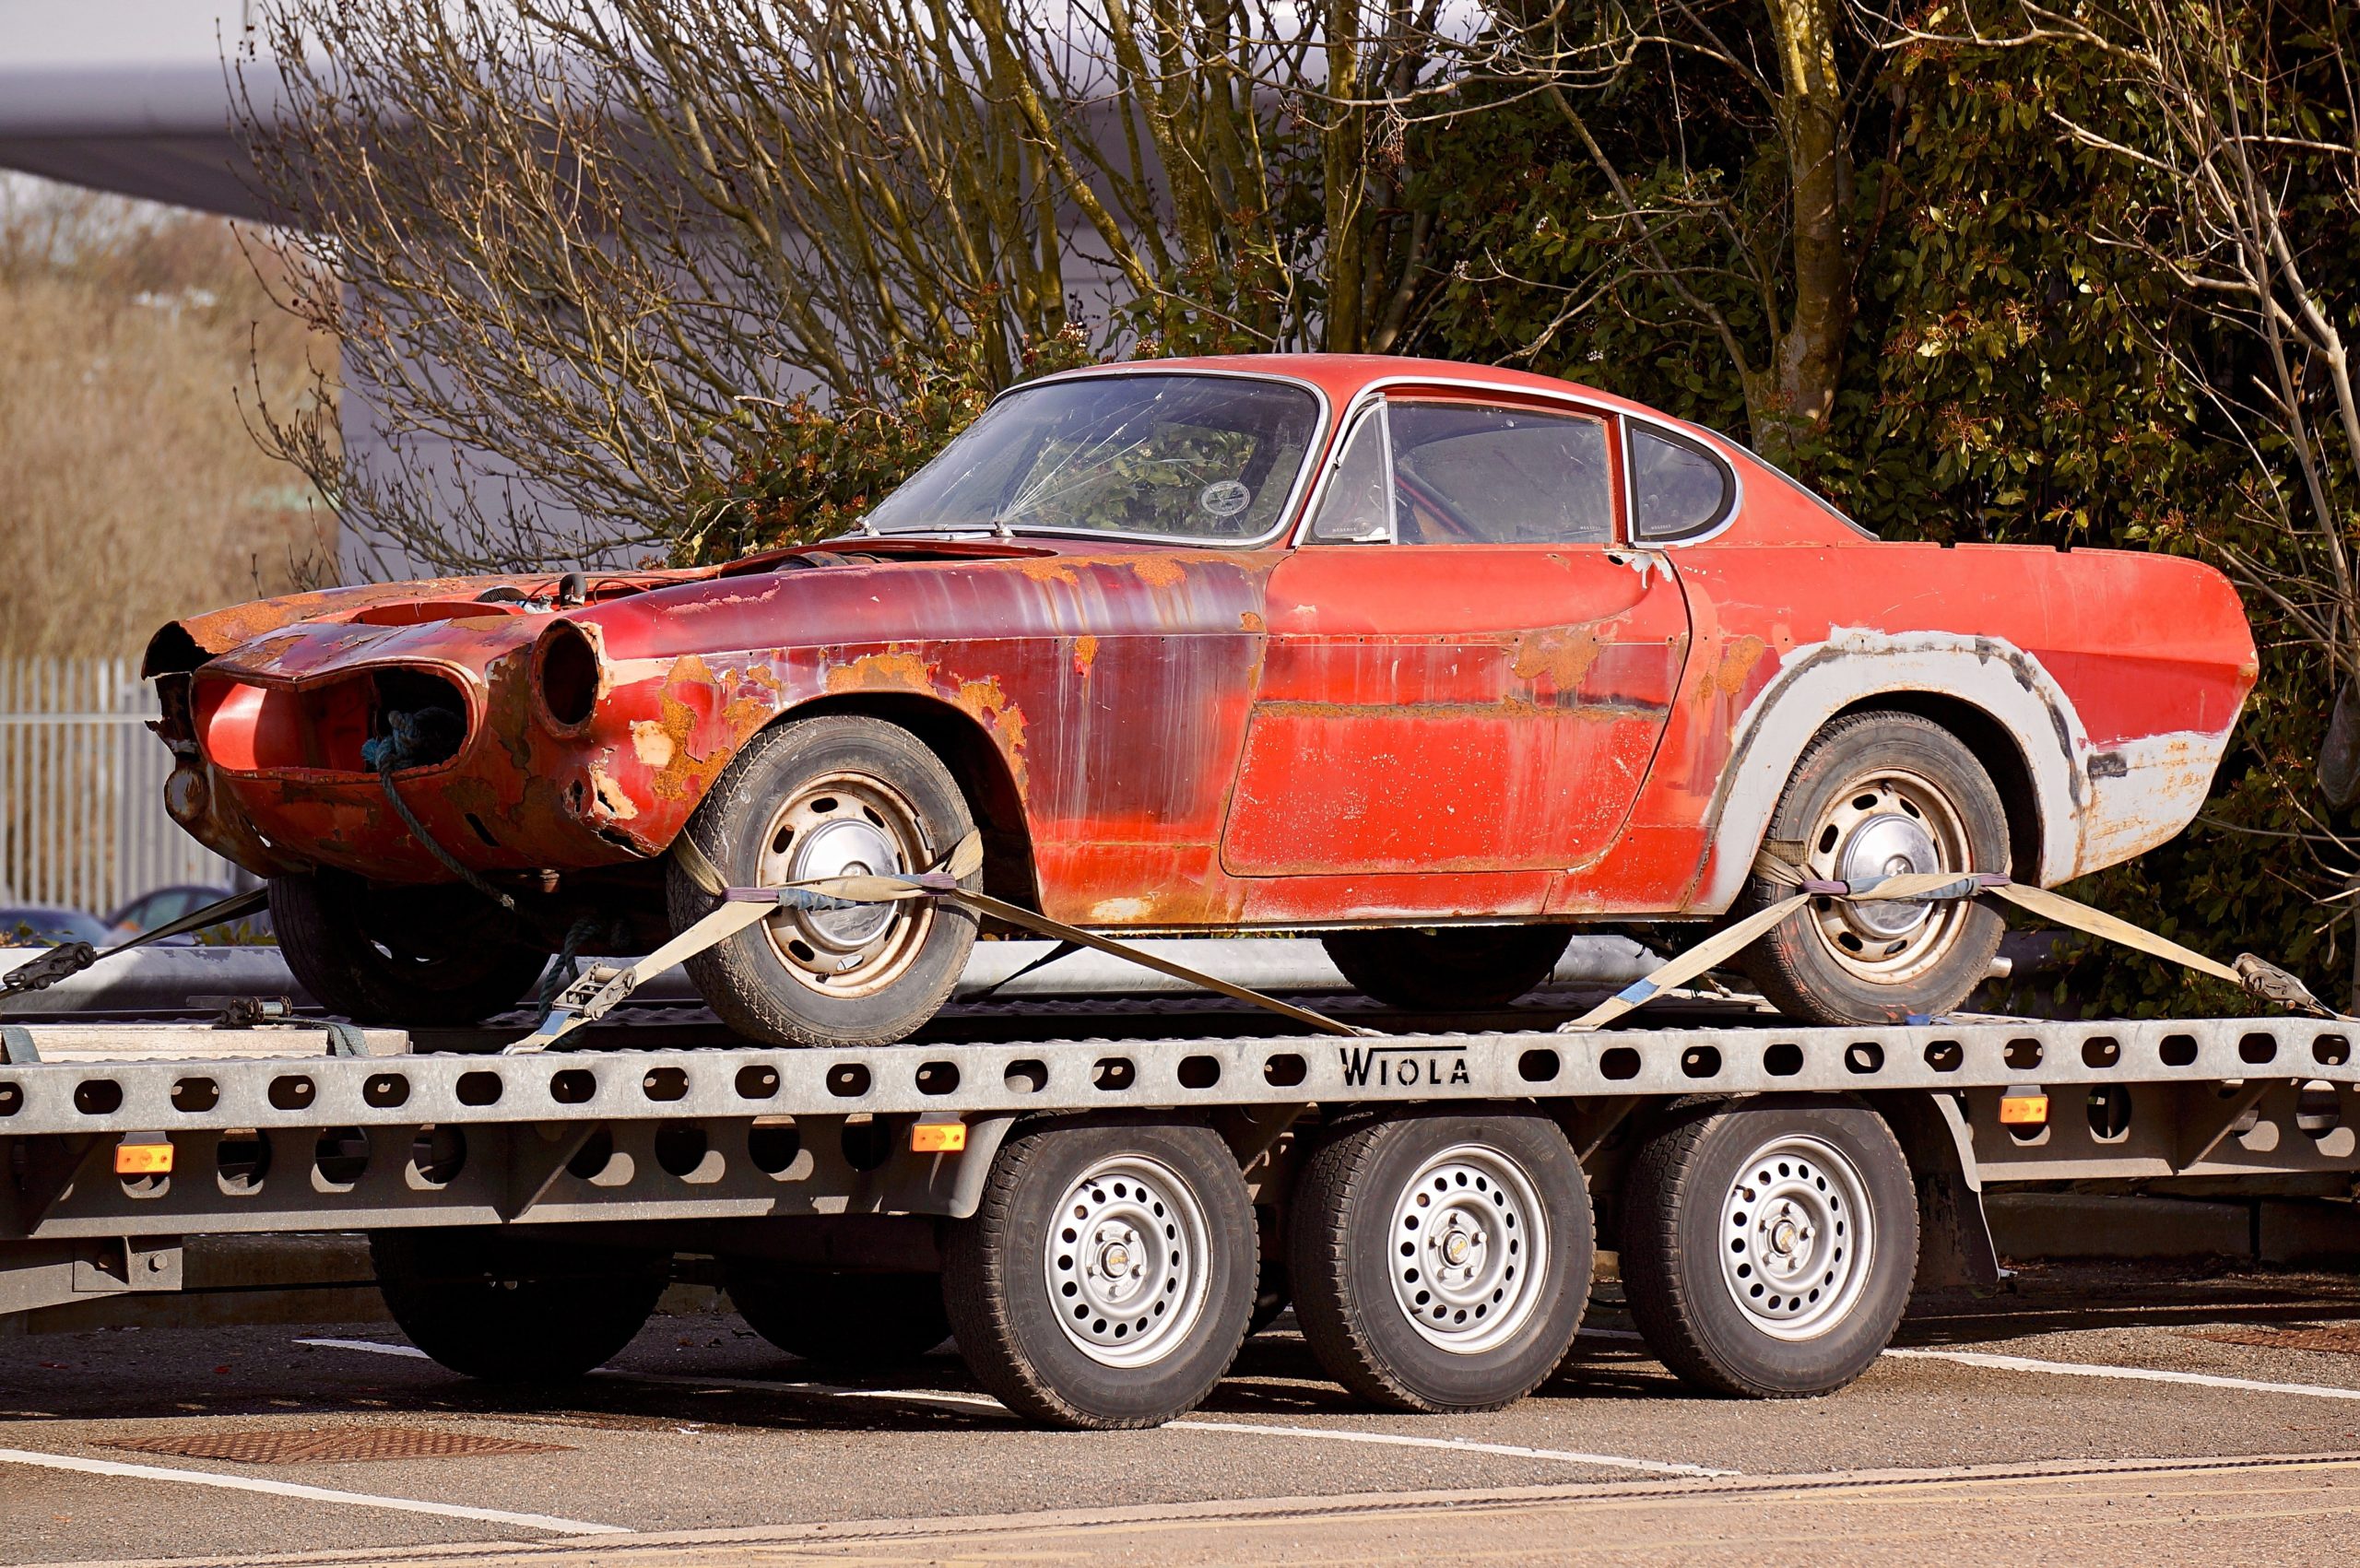
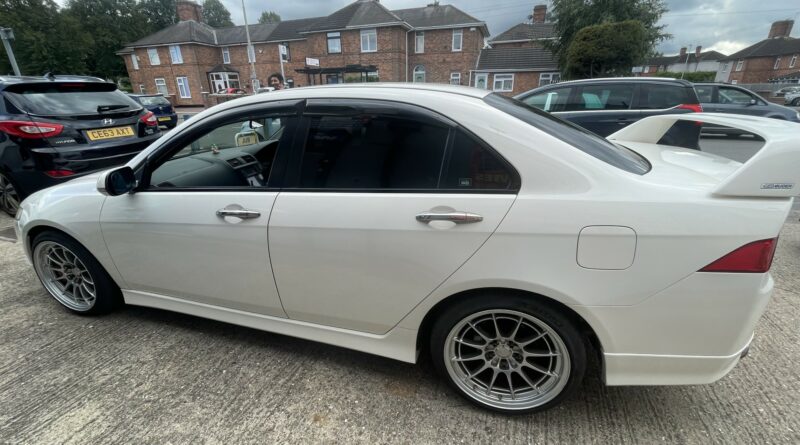
Exterior Examination
Begin by carefully inspecting the exterior of the Honda in good lighting conditions. Key areas to check include rust around wheel arches, sills, and door edges, dents, scratches, or damaged trim, paint condition and colour consistency across panels, signs of previous accident repairs, tyres for even wear and adequate tread depth, and the operation of headlights, tail lights, indicators, and brake lights. Uneven tyre wear or mismatched paint may indicate alignment issues or past damage.
Engine Condition Check
Open the bonnet and inspect the engine bay thoroughly. Look for oil leaks or coolant residue, loose, cracked, or perished hoses, worn or damaged belts, and correct fluid levels for oil, coolant, brake fluid, and transmission fluid. Start the engine and listen for abnormal noises. A well-maintained Honda engine should idle smoothly without rattles or excessive vibration.
Transmission Assessment
The condition of the transmission is critical for long-term reliability. During inspection, shift through all gears smoothly, watch for hesitation, slipping, or jerking, ensure automatic gearboxes engage cleanly, and check clutch operation on manual models. Transmission repairs can be costly, so smooth and consistent operation is essential.
Suspension and Steering Inspection
Suspension components wear over time and directly affect comfort and safety. Inspect for uneven tyre wear, excessive bouncing when pressing down on each corner, steering play or knocking noises, and leaking shock absorbers or struts. Honda vehicles should feel stable, controlled, and responsive.
Brake System Evaluation
Examine the braking system carefully. Check brake pad and disc condition, brake fluid level and condition, and calipers for leaks or corrosion. During a test drive, the brakes should feel firm and progressive, without vibration, pulling, or unusual noises.
Electrical Systems Check
Modern Honda vehicles rely on multiple electrical and electronic systems. Test the operation of dashboard warning lights, power windows and mirrors, central locking, wipers and washers, heating and air conditioning, and infotainment and audio systems. Any warning lights or electrical faults should be investigated before purchase.
Interior Inspection
Inspect the interior for signs of excessive wear or poor maintenance. Check seats for wear, sagging, or tears, dashboard condition and trim fitment, carpets and headlining, operation of buttons, switches, and controls, and any unusual smells that may indicate damp or leaks. Interior condition often reflects how well the vehicle has been cared for overall.
Undercarriage Examination
If possible, inspect the underside of the Honda. Look for rust or corrosion, oil or fluid leaks, exhaust system condition, and damage to suspension or fuel lines. The underbody can reveal problems that may not be visible elsewhere.
Test Drive Assessment
A test drive is an essential part of the inspection process. During the drive, assess acceleration and throttle response, steering feel and straight-line stability, gearbox smoothness, brake performance, and any unusual noises or vibrations. A used Honda should feel predictable, quiet, and composed on the road.
Final Thoughts on Buying a Used Honda
A thorough pre-purchase inspection is a sensible step when buying a used Honda. By carefully examining the exterior, engine, transmission, suspension, brakes, electrical systems, interior, and underbody, you gain a clear understanding of the vehicle’s overall condition. Taking the time to inspect a vehicle properly helps avoid unexpected costs and contributes to a smooth, reliable, and enjoyable ownership experience.
FAQs
What does a Honda pre purchase inspection include?
A Honda pre purchase inspection includes checks of the engine, transmission, suspension, brakes, electrical systems, interior, exterior, and undercarriage. It also involves a road test to assess real-world performance and identify any hidden issues.
Is a pre purchase inspection necessary for a used Honda?
Yes, even though Honda vehicles are known for reliability, a pre purchase inspection is essential to identify hidden faults and ensure the vehicle has been properly maintained.
How much does a Honda pre purchase inspection cost in the UK?
The cost typically ranges from £150 to £400 depending on the level of inspection, location, and whether diagnostic tools are used.
What are common problems in used Honda cars?
Common issues can include worn suspension components, brake wear, battery or electrical faults, clutch wear on manual models, and general wear from high mileage.
Can a Honda pass inspection with hidden issues?
A professional inspection can detect most hidden issues through visual checks, diagnostics, and a road test. However, the accuracy depends on the inspector’s experience and the depth of the inspection.
How long does a Honda inspection take?
A full inspection usually takes between 1 to 3 hours depending on how detailed the inspection is and whether a road test is included.
Do I need a specialist to inspect a Honda?
While not always required, using a qualified mechanic or inspection specialist is recommended to ensure a thorough and accurate assessment.
What should I check in a Honda service history?
You should check for regular servicing, correct intervals, use of recommended fluids and parts, and records of major repairs or replacements.
Can inspection results help negotiate the price?
Yes, any faults or maintenance issues identified can be used to negotiate a better purchase price or request repairs before completing the deal.
What happens if I skip a Honda pre purchase inspection?
Skipping an inspection increases the risk of buying a poorly maintained vehicle, leading to unexpected repair costs and reduced reliability.