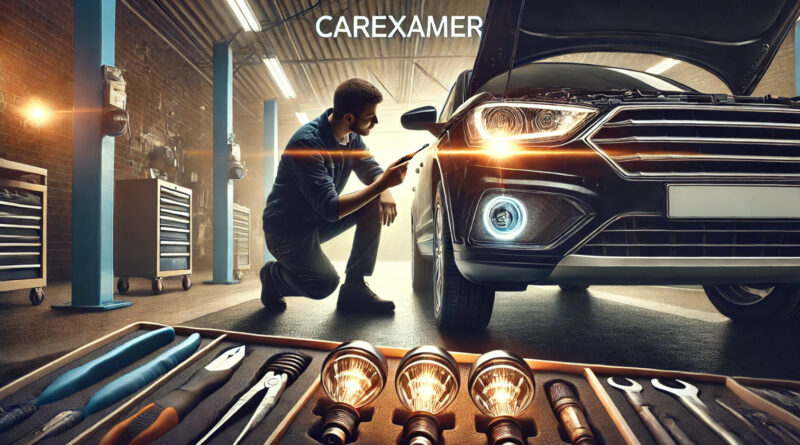
A Guide How to Check Your Car’s Lights and Bulbs
Estimated reading time: 5 minutes
Here’s a step-by-step guide on how to check your car’s lights and bulbs. Maintaining your car’s lights and bulbs is essential for safe driving. Properly functioning headlights, taillights, brake lights, and indicators ensure that you can see clearly and be seen by other drivers on the road. Regularly checking your lights and bulbs can help you avoid potential accidents, fines, and the inconvenience of driving with poor visibility.
1. Gather the Necessary Tools
Before you begin, it’s helpful to have a few basic tools on hand:
- A friend or family member (for assistance in checking brake lights)
- A clean cloth (for wiping bulbs if needed)
- Replacement bulbs (in case any bulbs need changing)
- A flashlight (for better visibility in dim areas)
2. Check the Headlights
Your headlights are crucial for night driving and poor weather conditions. Here’s how to check them:
- Turn on the headlights: Start your car and switch on the headlights.
- Check both high and low beams: Toggle between the high and low beams to ensure both are working correctly.
- Look for any dimness or flickering: If a headlight appears dim or flickers, it might be close to burning out and should be replaced.
- Inspect the headlight lenses: Ensure the lenses are clean and clear. Dirt, grime, or fogging can reduce the effectiveness of your headlights.
3. Inspect the Taillights
Taillights help other drivers see your vehicle in low visibility conditions. Here’s how to check them:
- Turn on the taillights: With your car running, switch on the taillights by turning on the headlight switch.
- Walk to the rear of the vehicle: Ensure both taillights are illuminated and equally bright.
- Check for any cracks or damage: Inspect the taillight covers for cracks, which can allow moisture in and damage the bulbs.
4. Test the Brake Lights
Brake lights warn drivers behind you when you’re slowing down or stopping. Here’s how to check them:
- Have someone press the brake pedal: Ask a friend or family member to press the brake pedal while you stand behind the car.
- Ensure all brake lights are functioning: Check that all brake lights, including the third (center) brake light, are illuminated and working correctly.
- Look for any delay or uneven brightness: If the brake lights don’t light up immediately or if one is dimmer than the others, it’s time to replace the bulbs.
5. Check the Turn Signals
Turn signals are essential for indicating your intentions to other drivers. Here’s how to ensure they’re working:
- Activate the turn signals: Turn on the left and right turn signals one at a time.
- Check for proper flashing: Walk around the car and ensure the front and rear turn signals are flashing at the correct speed.
- Listen for any fast clicking: A rapid clicking sound usually indicates a burned-out bulb, which should be replaced promptly.
6. Inspect the Reverse Lights
Reverse lights illuminate the area behind your car when backing up and alert others that you’re reversing. Here’s how to check them:
- Put the car in reverse: With the engine running, shift into reverse (ensure the parking brake is on for safety).
- Check the rear lights: Both reverse lights should illuminate. If one or both don’t light up, the bulbs need to be replaced.
7. Look at the Fog Lights
Fog lights help you see in foggy or misty conditions. Here’s how to check them:
- Turn on the fog lights: Activate the fog lights using the appropriate switch (usually on the dashboard or the light control stalk).
- Check for proper illumination: Ensure both front and rear fog lights are working (if your car is equipped with rear fog lights).
8. Replace Any Faulty Bulbs
If you find any bulbs that aren’t working, it’s essential to replace them immediately. Here’s how:
- Consult your owner’s manual: Find the correct bulb type and replacement instructions in your vehicle’s manual.
- Turn off the car and lights: Ensure all lights are off before attempting to replace a bulb.
- Remove the faulty bulb: Follow the instructions in your manual to remove the old bulb.
- Install the new bulb: Carefully insert the new bulb, ensuring it’s securely in place.
- Test the new bulb: Turn on the lights again to verify that the new bulb is working correctly.
9. Regularly Check and Maintain Your Lights
To ensure your lights are always in good working order, make checking them a regular part of your vehicle maintenance routine. Cleaning the lenses and checking for wear and tear can help extend the life of your lights and improve your safety on the road.
Conclusion
Regularly checking your car’s lights and bulbs is a simple yet crucial task that can enhance your safety on the road. By following this guide, you can easily ensure that all your vehicle’s lights are functioning correctly, helping you to avoid accidents, fines, and the dangers of driving with inadequate lighting. Make it a habit to check your lights regularly, and always replace any faulty bulbs promptly to keep your car in top condition.
FAQs
How often should I check my car lights and bulbs?
It is a good idea to check your car lights regularly, especially before long journeys, during winter and whenever visibility is poor. Frequent checks can help you spot faulty bulbs early and avoid safety issues or penalties.
What lights should I check on my car?
You should check all main exterior lights, including headlights, tail lights, brake lights, indicators, reverse lights and fog lights if your vehicle has them. Each of these lights plays an important role in visibility and road safety.
Can I drive with a faulty car bulb?
Driving with a faulty bulb can reduce visibility and make your vehicle less visible to other road users. It may also lead to an MOT failure or legal penalties, so faulty bulbs should be replaced as soon as possible.
Why is one of my car lights dimmer than the other?
A dim light may be caused by a failing bulb, poor electrical connection, corrosion or a charging issue. If one light appears weaker than the other, it is worth checking the bulb and wiring promptly.
Do I need to replace car light bulbs in pairs?
It is not always essential, but replacing bulbs in pairs can help maintain even brightness and reduce the chance of the other bulb failing shortly afterwards.