How to Tell If a Car Has Been in an Accident
Estimated reading time: 8 minutes
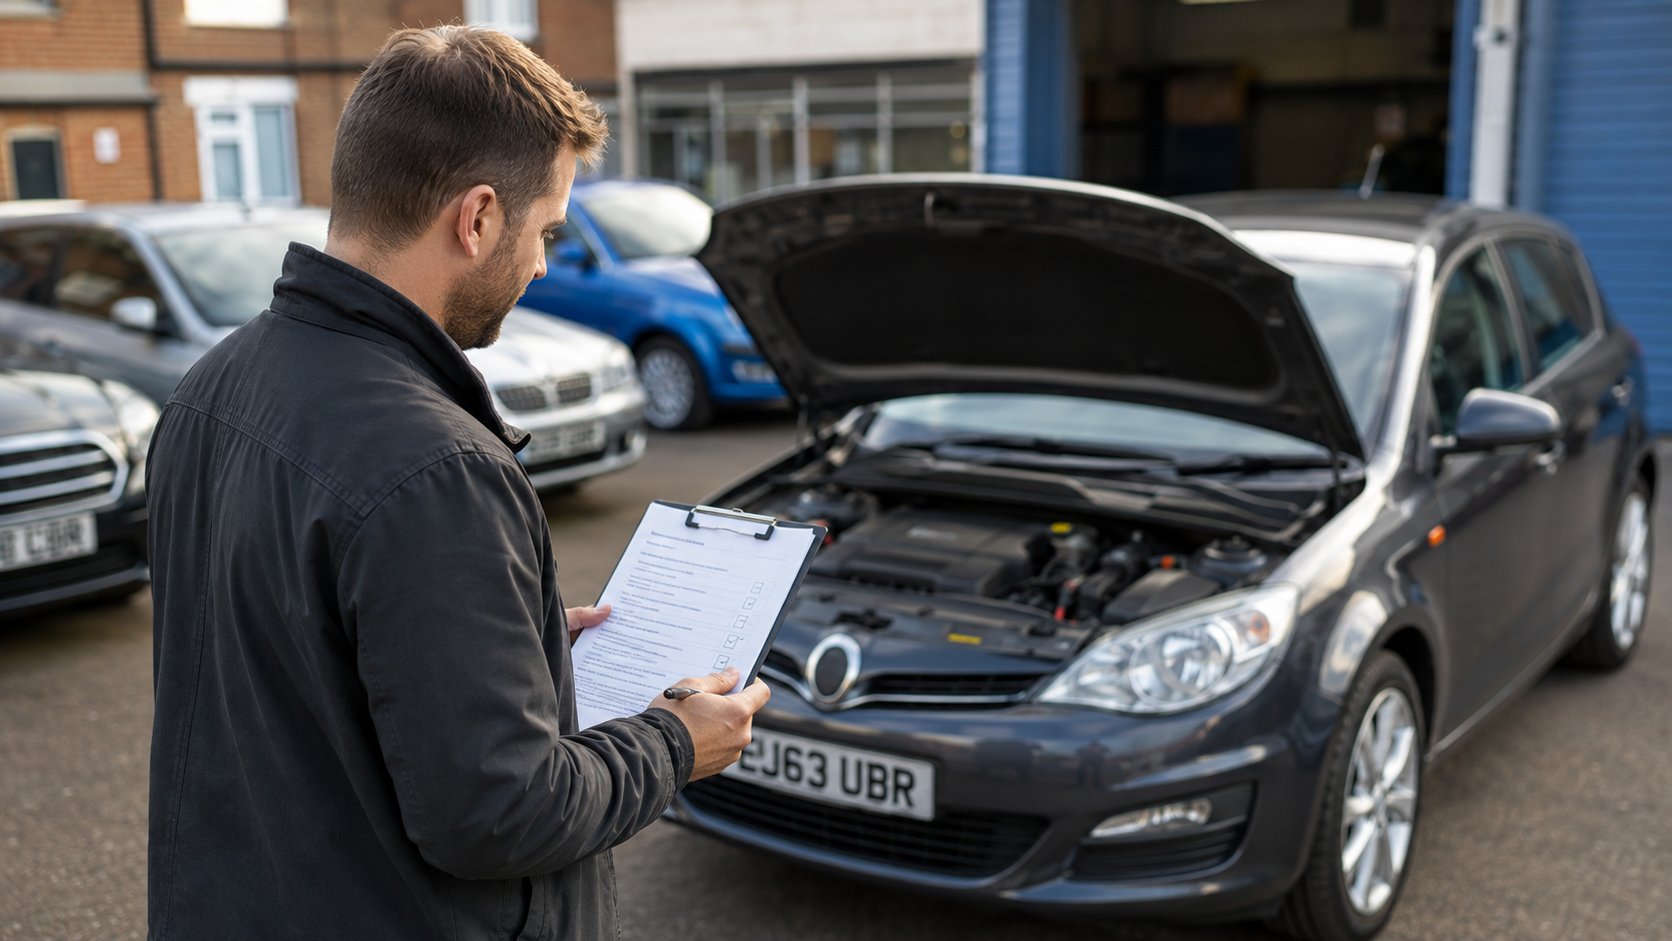
To find out whether a used car has been in an accident, start with the seller’s account and match it against the car’s records and physical condition. Look for paint differences, disturbed fasteners, uneven panel gaps and signs of work near structural or safety components. Use those findings to decide what needs further assessment before you pay.
A repaired scrape, a replacement bolt-on wing and a repair to a structural mounting carry different implications. Establish what was damaged, who repaired it and which checks were carried out afterwards. A tidy finish or an empty history search can leave important questions unanswered.
1. Ask about damage and match the records to the car
Ask the seller what damage or bodywork they know about and whether any panels or safety components were replaced. Request dated repair invoices and any photographs taken before the work. Compare the registration, VIN and mileage across the vehicle and the records. Use the GOV.UK used vehicle checklist for identity and registration checks.
Run a vehicle history check and read what the report covers. Recorded insurance write-offs can help identify vehicles needing further enquiry. Damage repaired privately, or a claim settled by repairing the car without writing it off, may leave no write-off entry. If salvage photographs are available, match them to the car and compare visible damage with the repair documentation. Photographs can show only what was visible when they were taken.
Use the MOT history to look for relevant failures and advisories involving tyres, suspension or body condition. A change in the records can prompt questions, but it cannot date or prove a collision. DVSA’s manual explains that the MOT is conducted without dismantling. Hidden repair quality requires a different assessment. See the MOT inspection manual.
Ask for dates and a repair sequence. The most helpful file connects the initial assessment, any changes found during dismantling, the parts used and the checks after reassembly. A receipt for paintwork may confirm that a panel was refinished without explaining why it needed paint. If the seller cannot obtain the original file, record what is missing and ask whether an independent examination can address the gap.
2. Compare paint, panel gaps and fittings in daylight
View the car dry in even daylight if possible. Stand back and look along both sides, then look more closely at the reflection across adjoining panels. Compare similar areas on the left and right. Notice changes in colour, texture or gloss, as well as paint on seals or fasteners. A bumper and a metal wing can appear slightly different even without a repair, so consider the material and lighting before drawing conclusions.
- Check the gaps around doors, wings, bonnet and tailgate on both sides. Look for a marked change along the same edge.
- Look for chipped paint around accessible bolt heads, masking edges or overspray on adjacent fittings.
- Open and close doors and the tailgate with permission. Note rubbing, poor latching or unusual resistance.
- Compare matching lights and trim for fit, damage and secure mounting. A different date or brand on one part can warrant a question.
A paint thickness gauge can help compare readings across compatible surfaces. Check what the instrument measures before interpreting the numbers. Readings on different substrates may require different methods, and a conventional metal-panel gauge may give no useful reading on plastic. Take several readings on the same panel and compare with similar panels. A high reading can suggest additional coating or filler. The depth of the original damage requires other evidence.
Write down the location and pattern of what you find. For example, fresh paint on a wing has different implications when the adjacent door closes cleanly and its surroundings look consistent than when the door gap tapers, bolts show disturbance and the inner area has visible repair marks. Use the combination of findings to decide whether to ask for more evidence.
3. Look beyond the outer panels
With permission, check accessible areas under the bonnet and inside the boot. Compare the visible seams, inner edges and mounting areas on each side. Look for creasing, displaced trim, torn fixings, damaged light brackets or a local change in the finish. Ask for an appropriate professional assessment if you find differences around the inner wings, sill, boot floor or suspension mountings.
Factory joints and sealant vary by model and location. A weld or unusual-looking seam needs comparison with the manufacturer’s repair information and the rest of the evidence. A structural repair may need measurement or access that a viewing cannot provide. Avoid lifting trim, removing parts or going underneath a vehicle that has not been safely supported by a competent person.
If the seller provides an alignment report, check the VIN or registration, date and measured values. Ask what was checked before and after adjustment. Tyre wear, steering pull or an off-centre wheel can have several causes. A suitable road test can identify symptoms, while the cause may require checks of tyres, steering, suspension and body dimensions. Pause if the vehicle appears unsafe or the seller cannot provide suitable access.
For example, if the rear bumper looks recently painted, compare its fit with the rear lamps and tailgate. With the seller’s consent, lift a loose boot mat to look at the accessible floor. A paint repair with consistent fittings and a supporting invoice may be straightforward to explain. Disturbed fixings, a distorted floor or conflicting paperwork give you a reason to ask what the work involved before you proceed. Record the evidence without guessing the impact speed or severity.
4. Request evidence for airbags, seat belts and driver assistance
If the impact affected restraint systems, ask for the repair schedule, replacement invoices and relevant diagnostic records. At a viewing, check warning behaviour against the handbook and look for visible damage or poor fit around accessible trim and belts. A warning light or a fault code warrants investigation. A clear dashboard cannot establish that every component was replaced and fitted correctly.
Repairs around a bumper, windscreen, suspension or sensor mounting can affect driver assistance systems. Ask the repairer which systems were affected, whether the manufacturer required calibration and what the results were. Request the record for the specific car when calibration was required. Thatcham Research’s insurance industry repair requirements explain why the repair process must account for affected sensors.
Where a car is electric or plug-in hybrid and the damage may have reached the battery area or high-voltage components, ask for evidence of assessment by suitably qualified staff. Keep checks within the access and competence available at the viewing. Do not touch damaged electrical components or attempt a charge or road test if the vehicle may be unsafe.
Read the repair documents before accepting the explanation
Match the repairer’s name, date and job reference across invoices, photographs and test records. Where several workshops were involved, ask which one assessed the damage, repaired the body and checked the affected systems. Ask the seller to explain any gap between the original damage and the work listed on the invoice. A parts invoice shows a purchase. You still need evidence that the right part was fitted to this vehicle and checked where required.
Ask who assessed areas you cannot see and what method they used. A dated geometry report, documented calibration result or repair-stage photograph is useful when it answers a specific question. If the report is a visual examination, check which covers and fittings restricted access. Even several documents can leave uncertainty about a repair that has since been covered by trim or paint.
Decide what the evidence means for your purchase
A declared write-off category describes the insurer’s classification. GOV.UK distinguishes repairable structural damage under Category S from repairable non-structural damage under Category N. Either needs to be repaired to a roadworthy condition before road use. The category cannot establish how well later work was done. See the official category guidance and our write-off categories guide.
A documented cosmetic repair can be weighed against the price and condition of the car. If structural, restraint or sensor work remains unexplained, ask for the repair evidence and get a specialist view before paying. If the evidence is inadequate or access is refused, choose another car. Check insurance terms and likely resale implications before considering a recorded write-off. Our insurance write-off checks guide explains how to use those records.
Arrange a vehicle inspection when you need an independent assessment of the accessible areas. Explain the damage or repair you suspect so the scope can address it. If an area cannot be seen or a system cannot be tested, ask what additional evidence or specialist checks would answer the question. Base the decision on the specific car, the quality of the evidence and any remaining uncertainty.