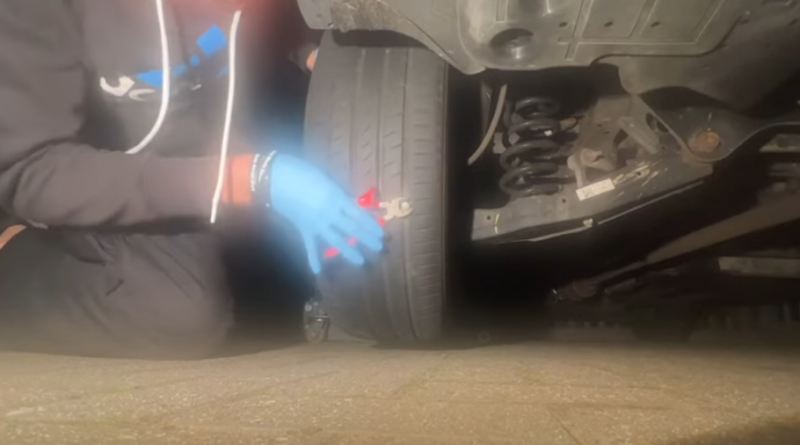
How to Repair a Punctured Tyre A Step-by-Step Guide
This comprehensive guide will walk you through the steps to repair a punctured tyre, ensuring you get back on the road quickly and safely. A punctured tyre can happen to anyone and at any time. Knowing how to repair a puncture can save you time, money, and the inconvenience of being stranded.
Tools and Materials Needed to repair a punctured tyre
Before you begin, gather the following tools and materials:
- Tyre repair kit (including plug, sealant, and plug insertion tool)
- Tyre jack
- Lug wrench
- Pliers
- Air compressor or tire inflator
- Soapy water or tire sealant
Step-by-Step Guide to Repair a Punctured Tire. Example video
Step 1: Safety First
- Find a Safe Location: Pull over to a safe, flat area away from traffic. Turn on your hazard lights to alert other drivers.
- Engage the Parking Brake: Ensure your vehicle won’t move while you work on the tire.
Step 2: Remove the Tire
- Loosen the Lug Nuts: Use a lug wrench to slightly loosen the lug nuts on the flat tire. Do not remove them completely yet.
- Lift the Vehicle: Use a tire jack to lift the vehicle off the ground. Refer to your vehicle’s manual for proper jack placement.
- Remove the Lug Nuts: Once the vehicle is lifted, fully remove the lug nuts and take the tire off the vehicle.
Step 3: Locate the Puncture
- Inspect the Tyre: Look for visible signs of a puncture, such as a nail, screw, or other debris.
- Use Soapy Water: If the puncture isn’t obvious, spray the tire with soapy water. Bubbles will form at the puncture site as air escapes.
Step 4: Repair the Puncture
- Remove the Debris: Use pliers to pull out any object causing the puncture.
- Prepare the Plug: If using a plug repair kit, prepare the plug and insertion tool according to the instructions.
- Insert the Plug: Coat the plug with rubber cement (if provided) and insert it into the puncture using the insertion tool. Push it in until only a small amount remains outside the tire.
- Seal the Puncture: If using tire sealant, follow the instructions to inject the sealant into the tire.
Step 5: Reinstall the Tire
- Replace the Tire: Put the repaired tire back on the vehicle.
- Tighten the Lug Nuts: Hand-tighten the lug nuts as much as possible.
- Lower the Vehicle: Use the tire jack to lower the vehicle back to the ground.
- Fully Tighten the Lug Nuts: Use the lug wrench to fully tighten the lug nuts in a star pattern to ensure even pressure.
Step 6: Inflate the Tire
- Inflate the Tire: Use an air compressor or tire inflator to bring the tire to the recommended pressure level (check your vehicle’s manual or tire sidewall for specifications).
- Check for Leaks: After inflating, use soapy water again to check for any remaining leaks.
When to Seek Professional Help
While many punctures can be repaired with a plug or sealant, some situations require professional assistance:
- Sidewall Damage: If the puncture is on the sidewall or near the tire’s edge, it cannot be safely repaired.
- Large Punctures: Large holes or gashes often require tire replacement.
- Multiple Punctures: Multiple punctures or extensive damage may compromise the tire’s integrity, necessitating a new tire.
Preventive Tips to Avoid Tire Punctures
- Regular Inspections: Frequently check your tires for wear, embedded objects, and proper inflation.
- Avoid Hazardous Areas: Steer clear of construction zones, debris-filled roads, and other areas where punctures are more likely.
- Maintain Proper Tire Pressure: Keep your tires inflated to the recommended levels to reduce the risk of damage.
Repairing a punctured tire is a valuable skill that can save you from inconvenient and potentially costly situations. By following this step-by-step guide, you can confidently handle minor tire repairs and keep your vehicle running smoothly. Remember to always prioritize safety and seek professional help when necessary.
Buying a used VW. Buying used vauxhall, BMW, Jaguar, Ford, Volvo, Range rover, Bentley, Aston Martin, Porsche, Ferrari, Lamborghini, Maserati, Hyundai, Tesla, Honda, Pagani

