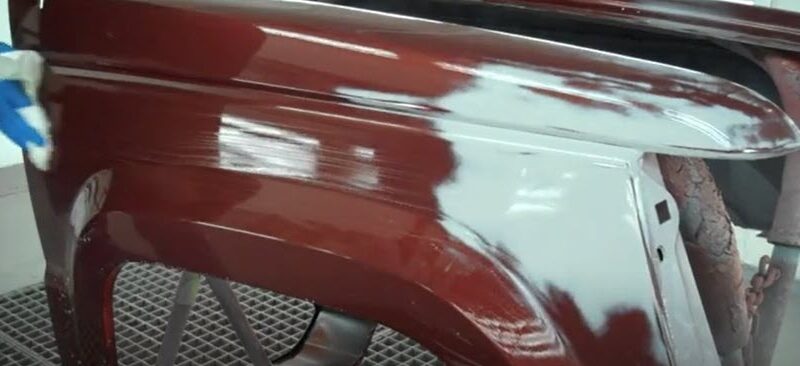
A Comprehensive Guide to Automotive Body Filler
Automotive body filler is a crucial material used in car body repair to fix dents, dings, and other surface imperfections. This guide will provide you with a comprehensive understanding of what body filler is, the different types available, the application process, and tips for achieving a smooth, professional finish.
What is Automotive Body Filler?
Automotive body filler, often referred to as Bondo (a popular brand name), is a two-part compound used to fill dents, dings, and scratches in a vehicle’s bodywork. It’s a staple in auto body repair shops and DIY garages alike due to its versatility, ease of use, and ability to create a smooth, paintable surface.
Types of Automotive Body Filler
There are several types of body fillers available, each designed for specific applications and conditions. Understanding these types will help you choose the right product for your repair needs.
1. Standard Body Filler
Standard body filler is the most commonly used type. It’s affordable, easy to work with, and suitable for most minor to moderate repairs. Standard fillers typically consist of a polyester resin base and a hardener.
2. Lightweight Body Filler
Lightweight body filler is similar to standard filler but contains microscopic glass beads or other lightweight materials, making it easier to sand and shape. It’s ideal for larger repairs where a lot of material is needed without adding excessive weight to the car.
3. Fiberglass Reinforced Filler
Fiberglass reinforced filler contains chopped fiberglass strands, giving it added strength and durability. This type is perfect for repairing areas that require extra reinforcement, such as rust holes or larger dents. It’s more challenging to work with than standard fillers but provides a stronger repair.
4. Aluminum Reinforced Filler
Aluminum reinforced filler includes aluminum particles, offering increased strength and resistance to rust. It’s ideal for use on aluminum and steel panels, providing a durable and corrosion-resistant repair.
5. Glazing Putty
Glazing putty is a thinner, smoother version of body filler used for filling small imperfections, pinholes, and scratches. It’s applied in a thin layer over the primary filler to achieve a perfectly smooth surface before painting.
The Automotive Body Filler Application Process
Applying body filler correctly is crucial to achieving a professional finish. Here’s a step-by-step guide to the process:
1. Preparation
Proper preparation is key to a successful repair. This includes:
- Cleaning: Thoroughly clean the area to be repaired, removing dirt, grease, and loose paint. Use a degreaser to ensure the surface is free of contaminants.
- Sanding: Sand the damaged area and the surrounding paint with coarse sandpaper (80-120 grit) to create a rough surface for the filler to adhere to.
2. Mixing the Filler
Body filler comes in two parts: the filler and the hardener. Follow the manufacturer’s instructions to mix the correct ratio. Typically, you’ll mix a golf ball-sized amount of filler with a pea-sized amount of hardener.
3. Applying the Filler
Using a plastic spreader, apply the mixed filler to the damaged area. Spread it evenly, pressing firmly to ensure good adhesion. Build up the filler slightly higher than the surrounding surface to allow for sanding down to a smooth finish.
4. Shaping and Sanding
Once the filler has cured (usually within 20-30 minutes), sand it down using coarse sandpaper (80-120 grit) to remove excess material and shape the repair. Follow with finer sandpaper (180-320 grit) to achieve a smooth finish. Use a sanding block to maintain a flat surface.
5. Applying Glazing Putty
If necessary, apply a thin layer of glazing putty to fill any small imperfections or pinholes. Allow it to cure, then sand it smooth with fine sandpaper (320-400 grit).
6. Priming and Painting
After sanding, clean the area again to remove dust. Apply a primer to seal the repair and provide a good surface for the paint to adhere to. Once the primer is dry, sand it lightly with fine sandpaper, clean the area, and apply your chosen automotive paint.
Tips for a Professional Finish
Achieving a professional finish with body filler requires attention to detail and patience. Here are some tips to help you get the best results:
1. Work in Thin Layers
Applying filler in thin layers allows for better control and reduces the risk of air bubbles or weak spots. It’s better to apply multiple thin layers than one thick layer.
2. Use the Right Tools
Invest in good quality spreaders, sandpaper, and sanding blocks. These tools will help you achieve a smoother finish and make the job easier.
3. Practice Patience
Allow each layer of filler and putty to fully cure before sanding or applying additional layers. Rushing the process can lead to poor adhesion and an uneven finish.
4. Maintain a Clean Work Area
Keep your work area clean and free of dust and debris. Contaminants can ruin the finish and cause imperfections in the filler.
5. Follow Manufacturer Instructions
Always follow the manufacturer’s instructions for mixing, application, and curing times. Incorrect ratios or curing times can compromise the strength and durability of the repair.
Conclusion
Automotive body filler is an essential material for repairing dents, dings, and other surface imperfections in a vehicle’s bodywork. By understanding the different types of fillers, the application process, and tips for achieving a professional finish, you can tackle auto body repairs with confidence. Whether you’re a seasoned DIY enthusiast or a beginner, mastering the use of body filler will help you maintain your vehicle’s appearance and value for years to come.
Buying a used VW. Buying used vauxhall, BMW, Jaguar, Ford, Volvo, Range rover, Bentley, Aston Martin, Porsche, Ferrari, Lamborghini, Maserati, Hyundai, Tesla, Honda, Pagani

